Nov 10, 202612 min read
Four Prompt Patterns Worth Testing on Claude (None of Them Is 10x)
Nobody can honestly promise 10x from a prompt. Here are four patterns Anthropic documents, three wit...
Part 1 of 1
Devesh Korde
November 17, 2026
Week 2 of this series is about agents, and the first step is the least glamorous one: getting a working setup.
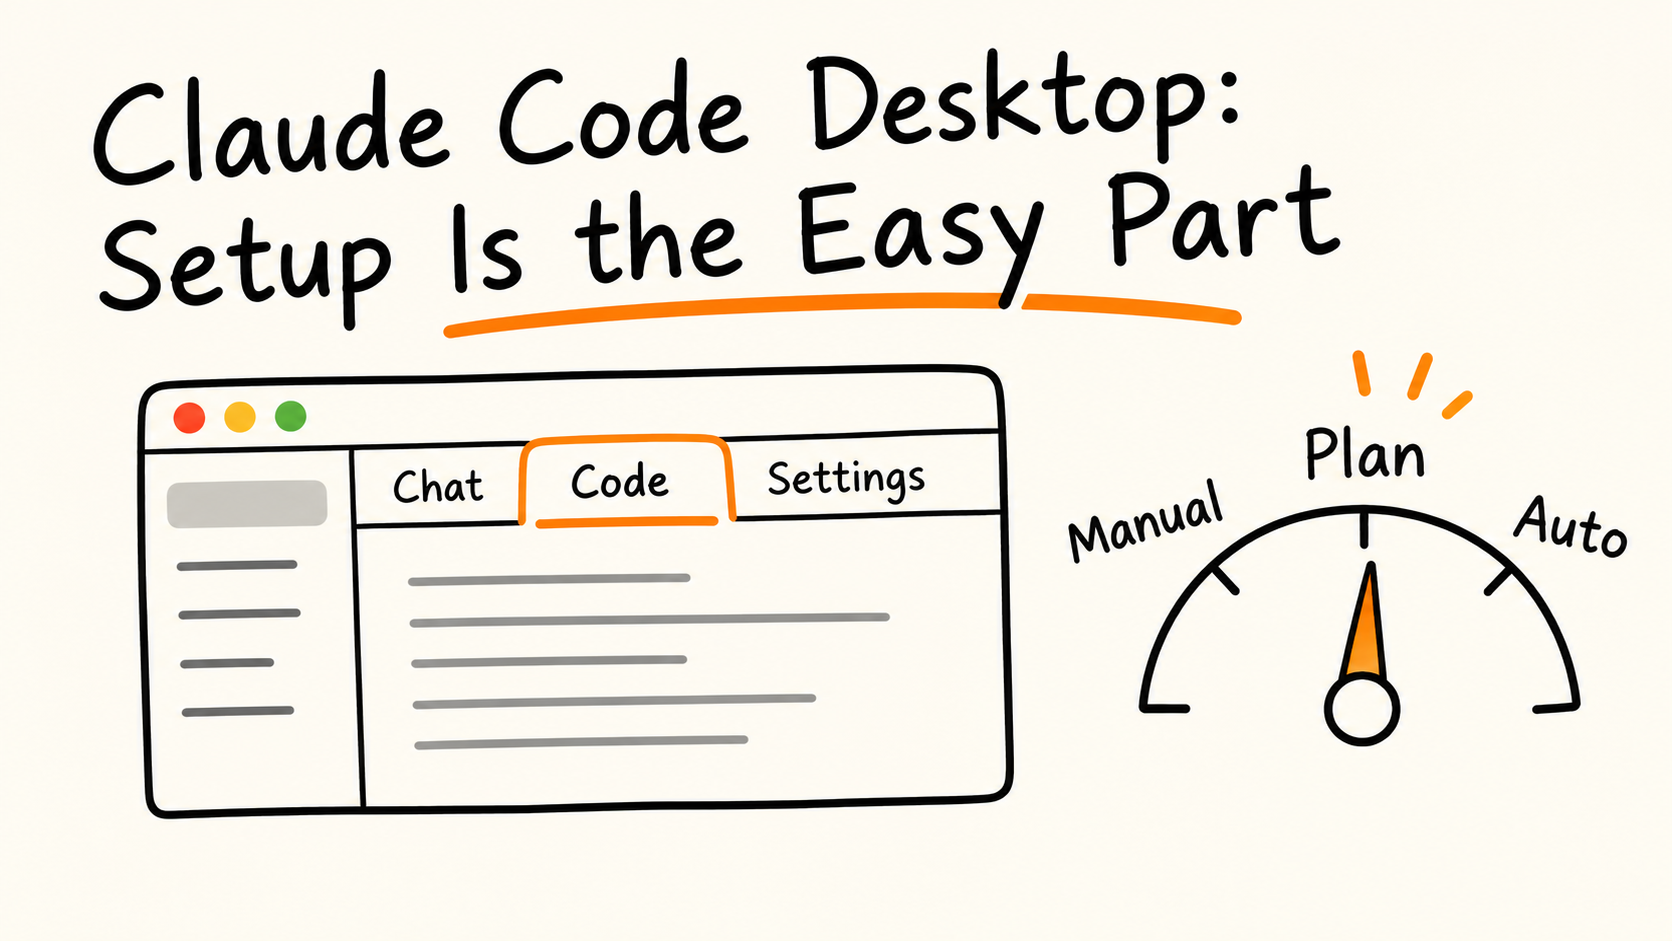
Claude Code Desktop is the Code tab inside the Claude desktop app. It gives you the same Claude Code engine as the terminal, with a graphical interface: a sidebar for sessions, visual diff review, an embedded terminal and file editor, and a browser pane for previewing your app.
Everything below comes from Anthropic's Claude Code docs, read on 2026-11-14. Desktop changes quickly, so where a screen doesn't match, check the version notes in the desktop reference.
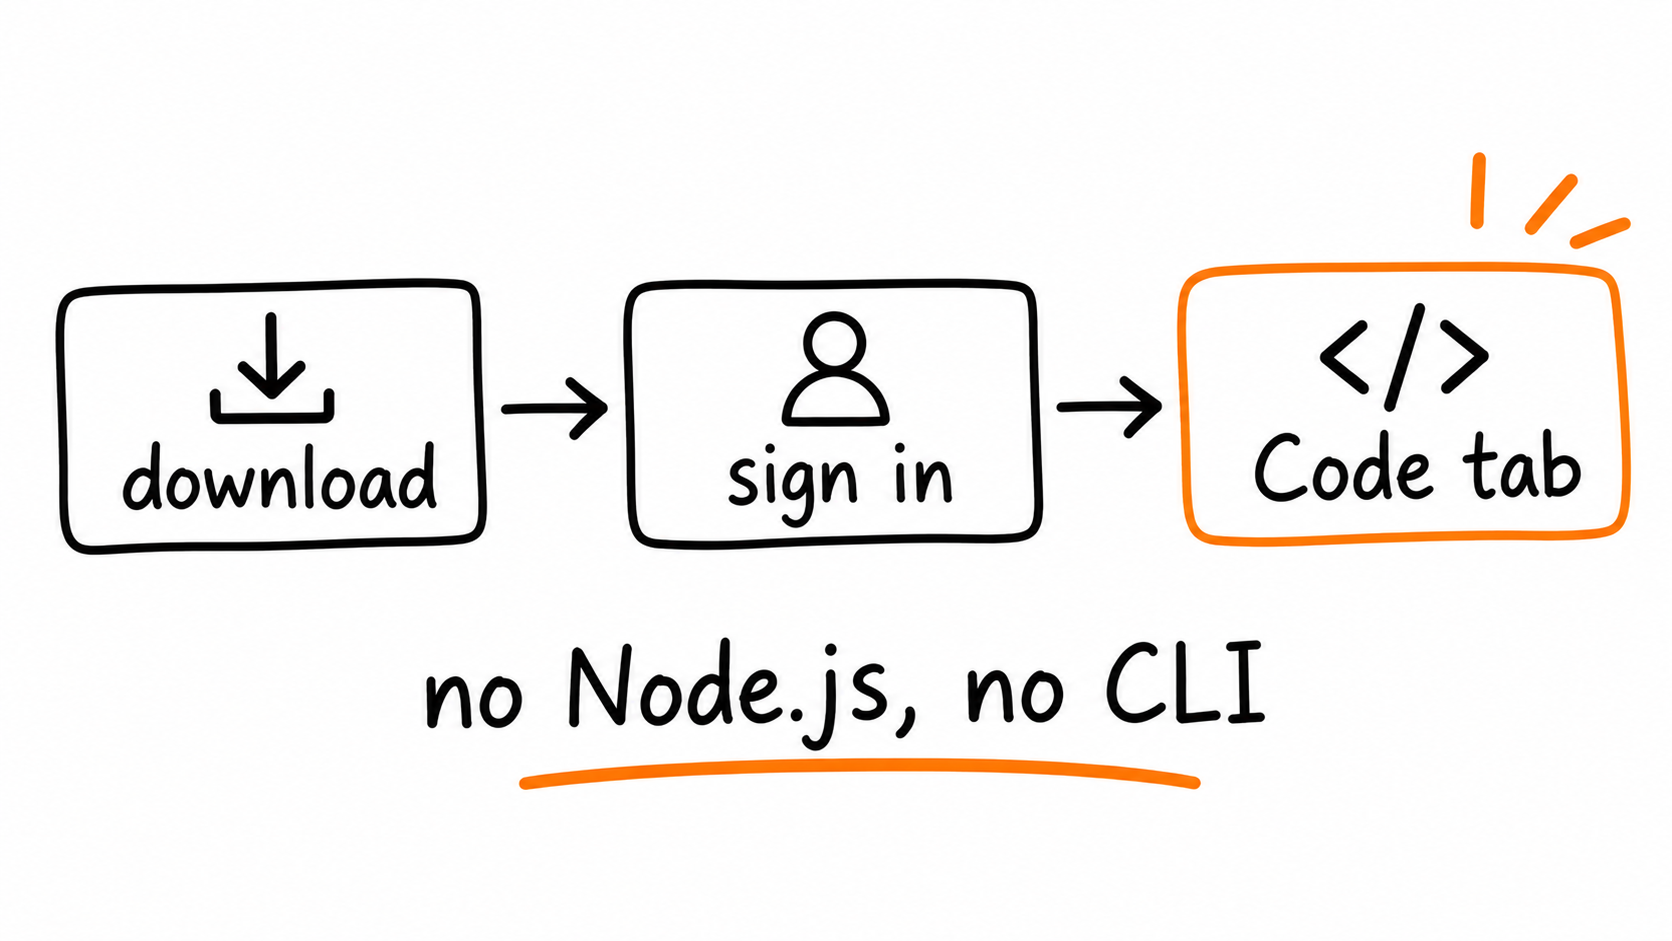
You don't need Node.js or the CLI. The desktop app includes Claude Code, so the Code tab works on its own.
| Platform | What to download |
|---|---|
| macOS | Universal build for Intel and Apple Silicon |
| Windows | x64 installer, with a separate ARM64 installer |
| Linux | A beta for Ubuntu and Debian, through apt or a .deb package |
The steps are short:
One version note: the pane layout, integrated terminal, and file editor need Claude Desktop v1.2581.0 or later. If something is missing, use Check for Updates in the app menu.
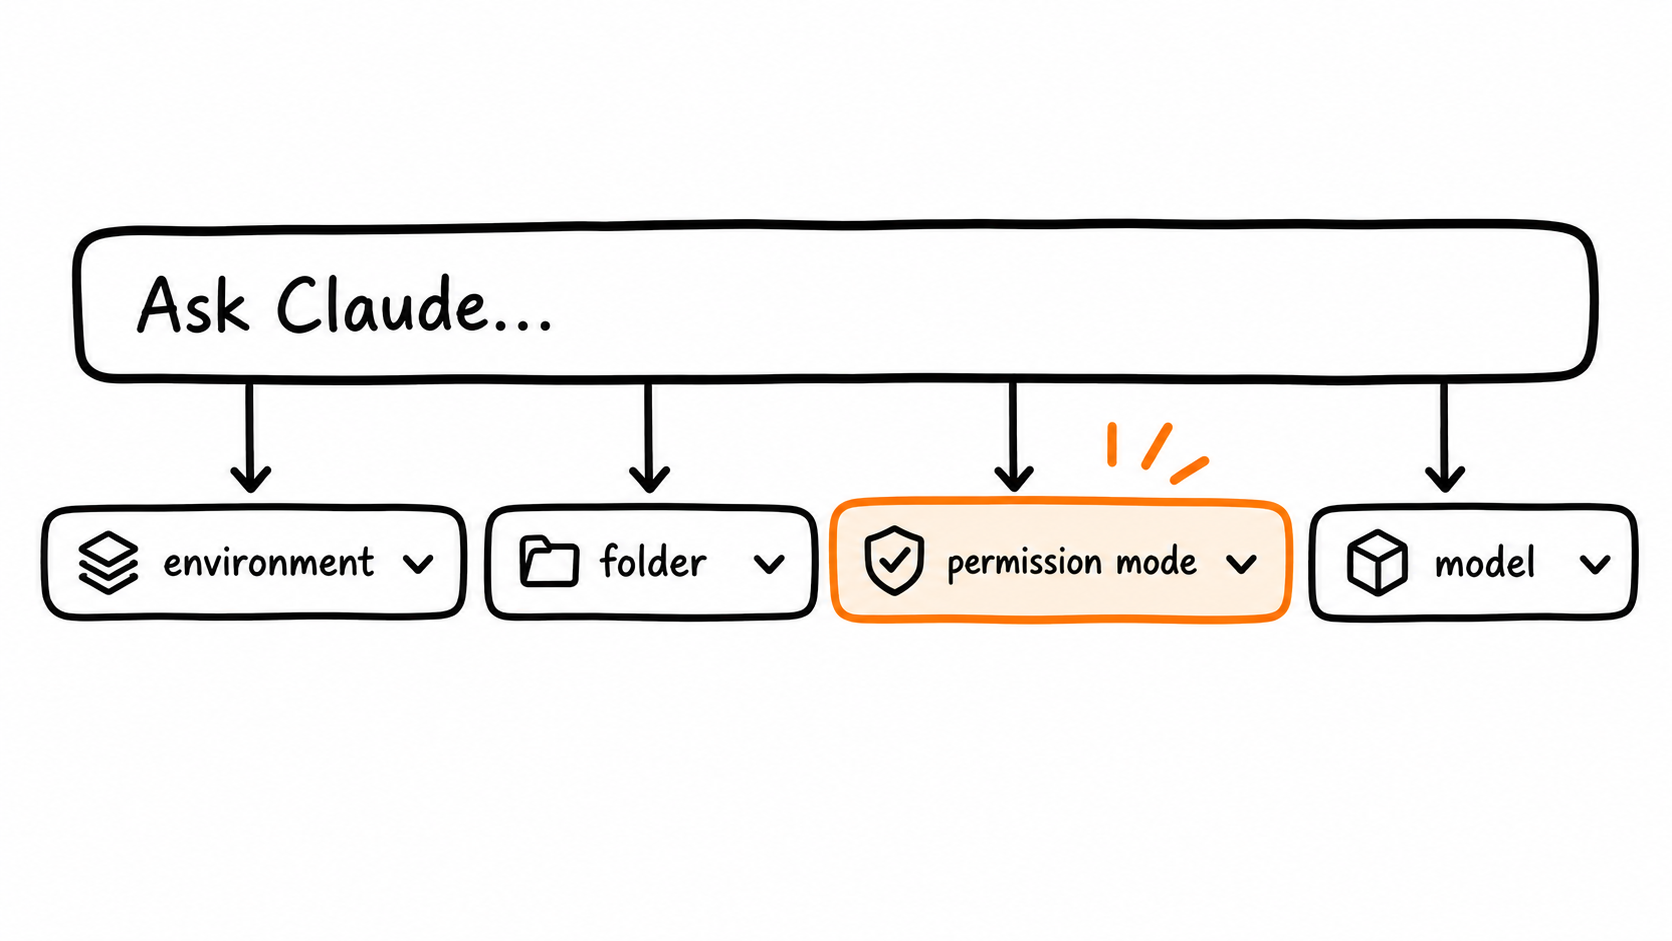
With the Code tab open, the row under the prompt box holds four controls. Set them before you send anything:
Then give it a small, concrete task. The quickstart suggests things like fixing a TODO comment, adding tests for a main function, or creating a CLAUDE.md with instructions for your codebase. That last one is a good first move, because it forces Claude to read the project and gives you something to correct.
Setup takes minutes. This is the part that takes practice.
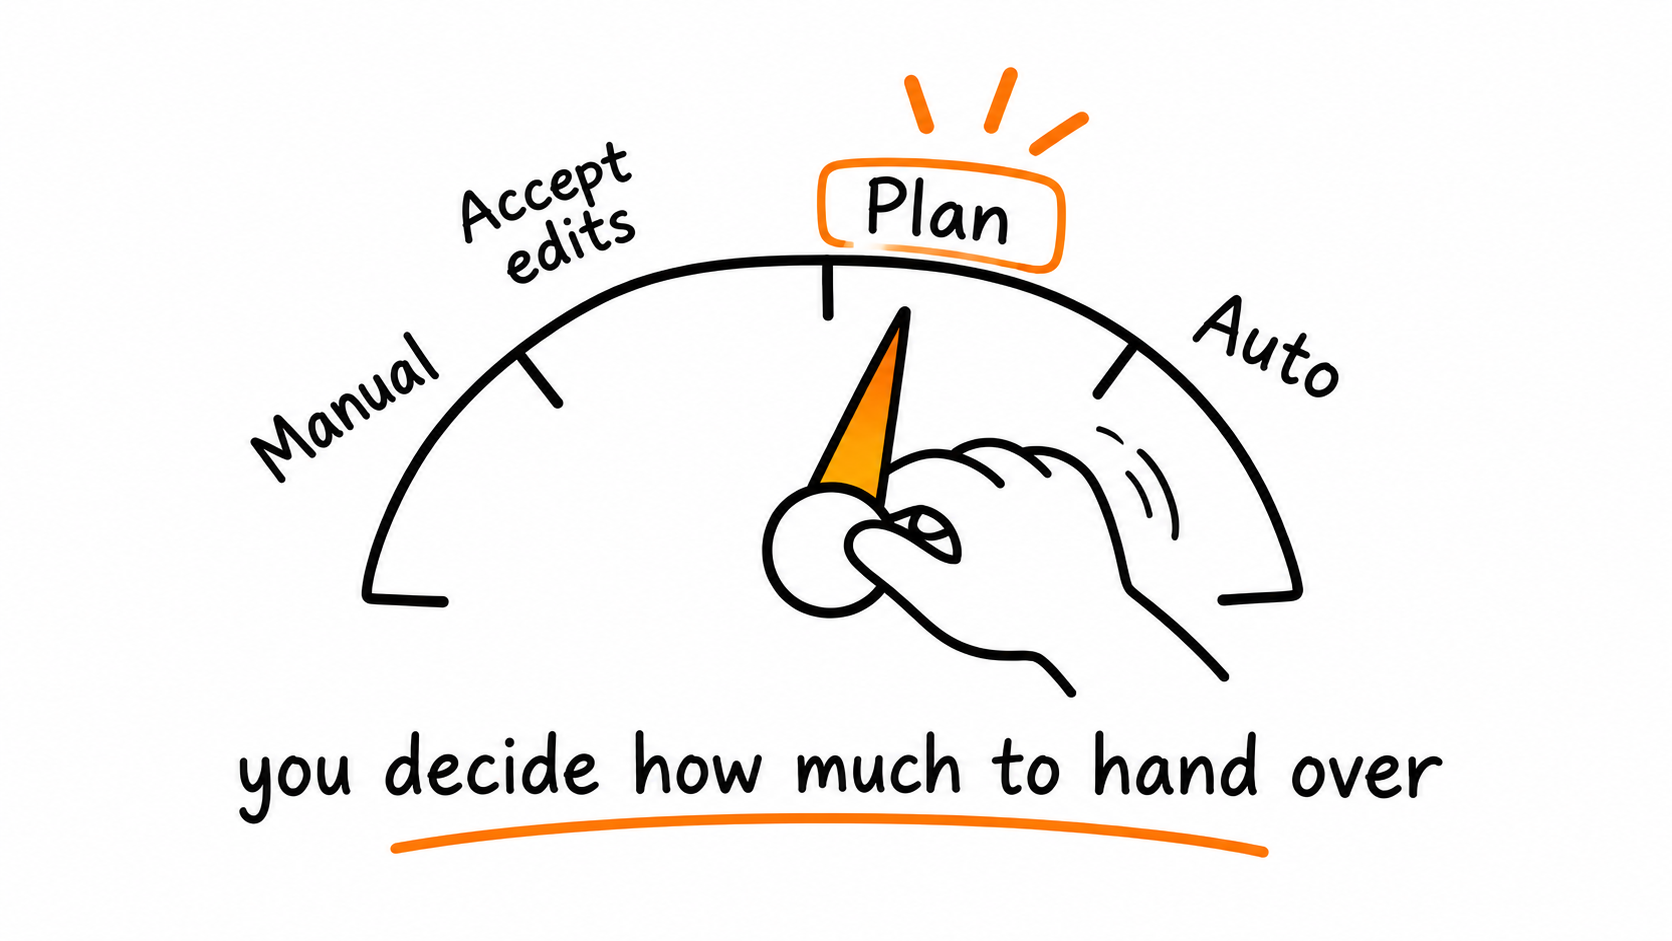
Permission modes control how much autonomy Claude has. You can switch at any time using the selector in that same row.
| Mode | What happens |
|---|---|
| Manual | Claude asks before editing files or running commands. You see a diff and accept or reject each change. |
| Accept edits | File edits and common filesystem commands go through automatically. Other terminal commands still ask. |
| Plan | Claude explores and proposes a plan without editing your source. |
| Auto | Claude runs without routine prompts, while a background classifier checks actions like shell commands and network requests. Availability depends on your model and setup. |
| Bypass permissions | No prompts, apart from a few actions no mode approves. The docs say to use it only in sandboxed containers or VMs. |
Two details are easy to miss. A mode you pick is remembered per folder, except Plan, which applies only to the current session. And Desktop reads the same settings files as the CLI, so you can set a default with permissions.defaultMode.
My advice is to start in Manual, and use Plan before anything large. The docs make the same suggestion: map the approach first, approve it, then switch to Accept edits or Manual to execute.
This is where the co-driver idea earns its place. In Plan mode, you read the approach and decide. The architecture decision stays with you, and Claude does the typing afterward. If you hand over the decision as well as the keystrokes, you've swapped seats.
Give context, not just instructions. Type @ and a filename to pull a file into the conversation, or attach screenshots, mockups, and PDFs from the + button. A CLAUDE.md in the project gives every session the same standing context.
Steer instead of restarting. You can interrupt with the stop button, or type a correction and press Enter to send it without stopping the running action. Claude reads it once the current action finishes.
Treat diff review as a skill. After Claude edits, click the line counts (for example +12 -1) to open the diff view. Hover a line and click the plus to leave a comment, then submit all comments at once. Claude reads them and revises. For a second opinion, type /code-review and Claude reviews the changes itself.
Use the panes. The integrated terminal (Ctrl+backtick) opens in your session's working directory and shares Claude's environment, so npm test sees the same files Claude is editing. The Browser pane previews your running app; Claude can start your dev server, take screenshots, and check its own changes. If your app uses a custom start command, edit .claude/launch.json.
Ask side questions. Press Cmd+; (Ctrl+; on Windows) or type /btw to open a side chat that sees the session's context without adding to it. Side chats aren't saved after you close the app.
A few shortcuts, with macOS keys (swap Cmd for Ctrl on Windows):
| Shortcut | Action |
|---|---|
| Cmd+N | New session |
| Cmd+Shift+D | Toggle diff pane |
| Cmd+Shift+B | Toggle Browser pane |
| Cmd+Shift+M | Open permission mode menu |
| Cmd+Shift+E | Open effort menu |
| Cmd+/ | Show all shortcuts |
The effort menu connects to Day 4. Extended thinking is on by default in Desktop, which helps with complex tasks and uses more tokens, so effort is worth understanding before you hit usage limits.
Once one session feels comfortable, open more. Click + New or press Cmd+N. Each session has its own context and changes, and you can view two side by side.
For Git projects, turn on Worktree before you start a session to run it in its own isolated copy of the project. It's off by default. Two practical notes from the docs:
/.claude/worktrees/ .env aren't copied into a new worktree unless you list them in a .worktreeinclude file.Before archiving a session whose worktree has uncommitted changes, commit what you want to keep. Archiving can discard them.
If you open pull requests from Desktop, PR monitoring needs the GitHub CLI installed and authenticated. After that, Claude can watch CI and fix failing checks.
This is my reading of the docs, not a measurement. Five things look like they take real adjustment:
/compact and inspect it with /context. Long sessions get less sharp as they accumulate, so smaller focused sessions tend to help.PATH in your user or system environment variables and restart the app. On macOS and Linux, if an exported variable is missing in a command Claude runs, start a new session or restart the app.Desktop fits when you want visual diffs, panes side by side, and several sessions in one window. The terminal CLI fits scripting and keyboard-driven work. They aren't exclusive: Desktop reads the same settings files as the CLI, and you can install the CLI separately if you want claude in your terminal.
Next in the series, I look at the terminal side.
Install, sign in, open the Code tab, pick a small project, and start in Manual or Plan. Give Claude context, steer when it drifts, and read every diff.
Setup is the easy part. Knowing how much to hand over is the skill.
Sources